I’ve been messing around with AI coding tools for a while now. And honestly? I got tired of switching between five different apps just to test one model against another. ChatGPT for one thing, Claude for something else, then back to DeepSeek for a third task. It was getting ridiculous.
So when I heard about DeepSeek Harness, I was curious. Not because I needed another AI tool. I really didn’t. But because it promised something different: a single workspace where I could plug in multiple models and switch between them without leaving the interface.
I gave it a shot last weekend. Took me about ten minutes to set up. And I’m actually impressed.
Here’s the short version: DeepSeek Harness is basically a local web interface that gives you a workspace: a chat window, session management, a working directory, and agent capabilities. But the real selling point? It lets you add custom model providers that are OpenAI-compatible. So you can hook up GPT-5.6 Sol, Claude Opus 5, Gemini 3.7 Flash, DeepSeek V4 Pro, all in one place. Gemini 3.7 Flash is the one that surprised me on price.
I used DeepRouter as the API provider. Cost me about thirty cents per million tokens. Not bad.
Let me walk you through what I did.
What You Need Before You Start
Two things. That’s it.
First, Node.js 24. Harness specifically needs version 24. Not 20, not 22, but 24. I learned this the hard way because I had Node 20 installed and the whole thing just wouldn’t run. So check your version first.
Second, an API key. I used DeepRouter because they support all the major models and the pricing is straightforward. You sign up, generate a key, and you’re good to go.
That’s literally all the prep work.
Installing Node.js 24
If you don’t have Node.js 24 yet, go grab it. The official Node.js site has downloads for every OS. Or if you’re in China, there’s a mirror at registry.npmmirror.com. Find the v24.x.x folder and pick your system.
I’m on macOS with Apple Silicon, so I grabbed that version. Windows users should get the x64 one.
After installation, close your terminal and reopen it. Then run:
node --version
If you see v24.x.x, you’re set. If not, you’ve got the wrong version. Fix that before moving on.
Running DeepSeek Harness
There are two ways to do this. I tried both. Here’s my take.
Method 1: The easy way (use this one):
Open your terminal and run:
npx @deepseek-ai/dsh web
That’s it. The first time, it’ll download dependencies. Might take a minute or two. Once it’s done, it starts a local web server at http://127.0.0.1:3080.
Open that in your browser and you’re in.
Method 2: The GitHub way (skip this unless you’re a nerd):
Clone the repo, install with pnpm, build, run. It works, but it’s more steps and honestly, unless you want to poke around the source code, there’s no reason to do this. The npx method is cleaner.
I tried both because I wanted to see if there was a difference. There wasn’t. So just use npx.
Adding Your API Key
This is where it gets interesting.
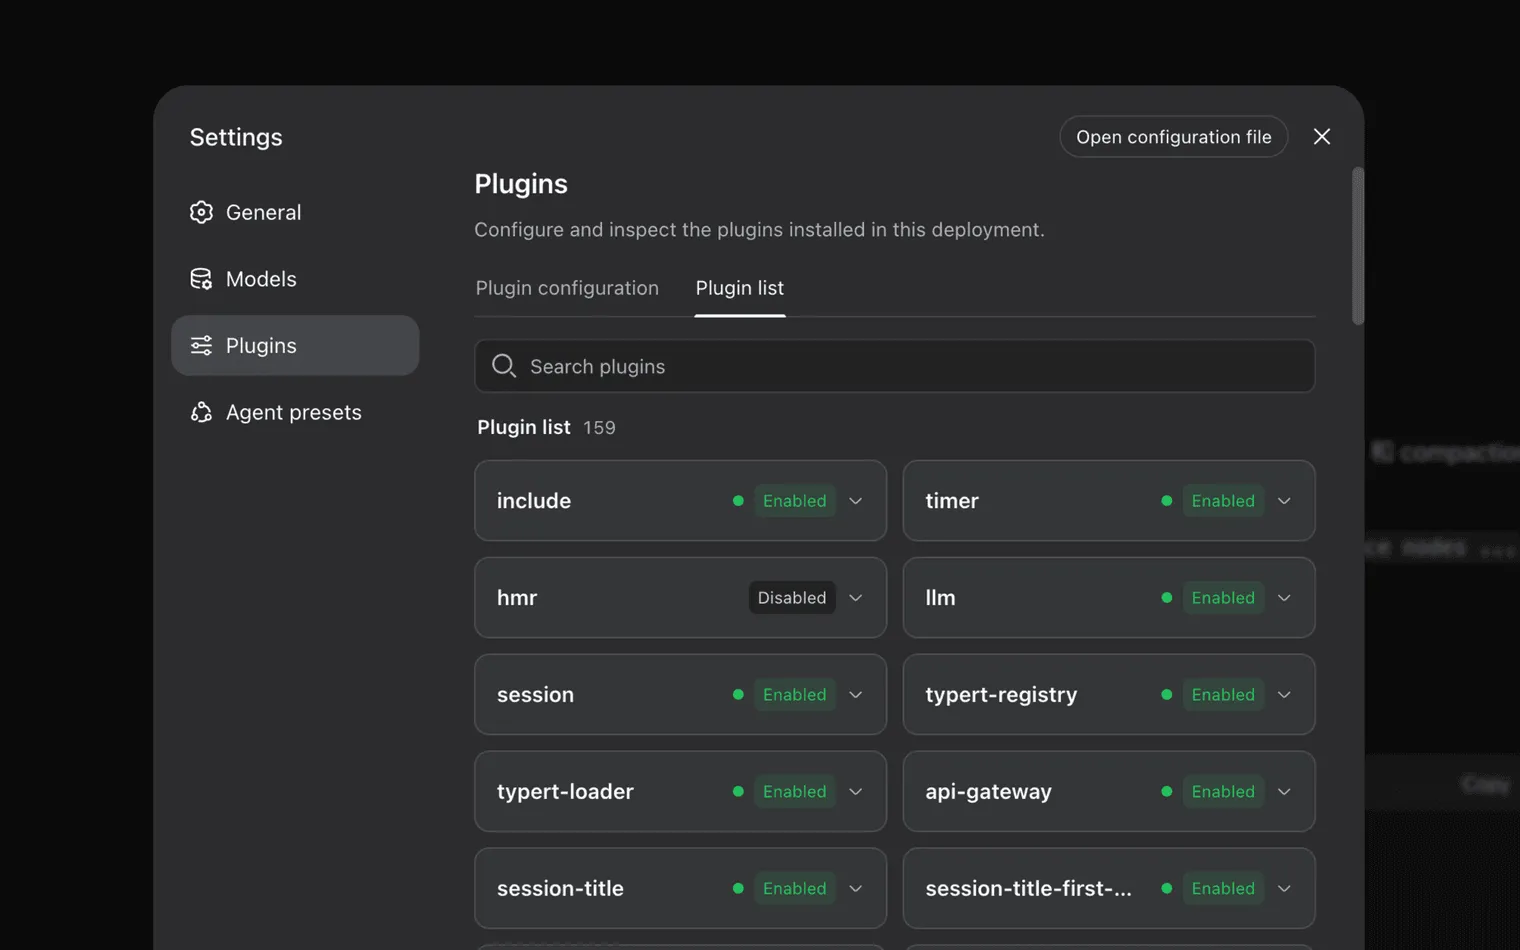
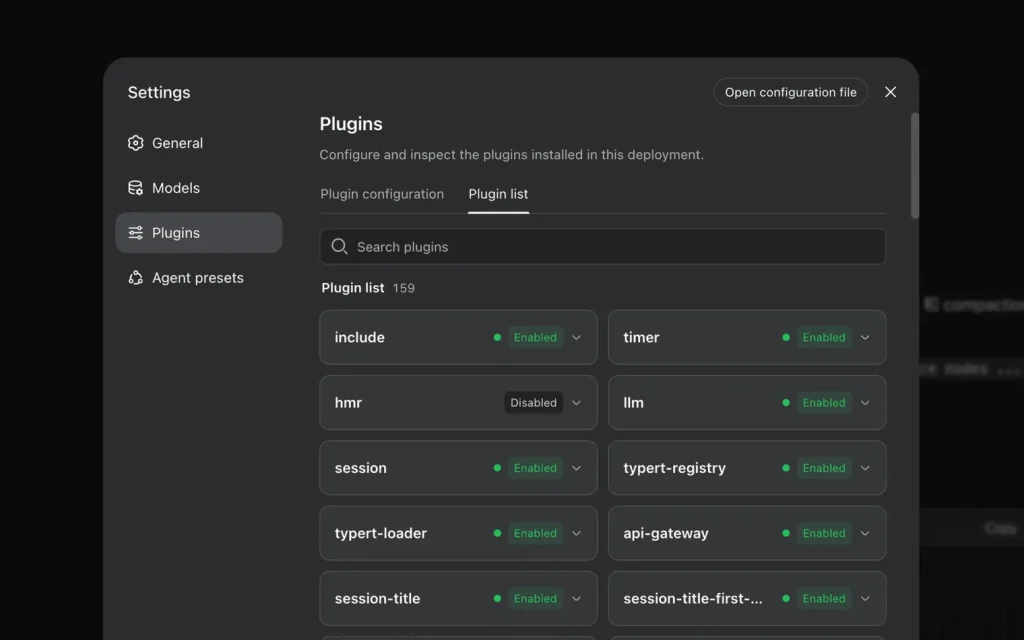
Once you’re in the web UI, go to Settings → Models → Add Custom Provider.
Fill in the fields:
- Provider ID: I put
deeprouter, but you can name it whatever. - API Address:
https://deeprouter.top/v1 - API Key: Paste your key here.
- API Protocol: Select
openai-completions.
Save it. Then click “Fetch Available Models.” If everything’s correct, Harness pulls the model list automatically.
I saw GPT-5.6 Sol, Claude Opus 5, Gemini 3.7 Flash, DeepSeek V4 Pro, DeepSeek V4 Flash, all there.
You can also add model IDs manually if you want. The format is straightforward: gpt-5.6-sol, claude-opus-5, deepseek-v4-pro. Just type them in.
Hit save and you’re done.
What It Actually Feels Like to Use
Back on the main chat page, you pick a working directory, basically a folder where Harness saves your session files and outputs. Then you choose your model from the dropdown.
I started with GPT-5.6 Sol for a coding task. I was refactoring a messy Python script that handled file parsing. The agent spun up, worked through the code, and produced a clean version in maybe three minutes. Then I switched to DeepSeek V4 Pro for the same task to compare. Different style, similar result. If you want the play-by-play of a first run on a real project, that’s a separate post.
The switching is instant. No reloading, no logging in and out, no copy-pasting between apps. Just click and go.
Wait, I should mention something. I forgot to set the working directory on my first try. The agent ran but couldn’t save anything. That caught me off guard. Took me a minute to realize I hadn’t selected a folder. So don’t forget that step.
Why This Setup Actually Works
Look, if you just want to chat with an AI, you don’t need Harness. The official web apps are fine for that.
But if you’re doing actual work, coding, writing agents, running longer tasks, having everything in one place is a huge quality of life improvement.
Here’s what I mean: I had Harness running with three different models available. I gave the same task to each one to see which performed better. That would’ve taken forever if I were switching between separate apps. With Harness, I just flipped through models like changing tabs.
Also, the session management is surprisingly useful. Harness keeps your conversation history and you can go back to previous sessions. I thought I wouldn’t care about that, but then I needed to revisit a conversation from two days ago and it was right there. So I take that back. It’s actually helpful.
What I’d Do Differently Next Time
I spent way too long trying to get the GitHub version to work before I realized npx was simpler. That was on me. I overcomplicated it.
Also, I should’ve checked my Node version first. Would’ve saved me five minutes of wondering why nothing was happening.
One more thing: I initially tried to add the API provider without selecting the protocol. There’s a dropdown for that. I missed it. The interface is clean but a little easy to skim past if you’re moving fast. So slow down and read each field.
Should You Try This?
If you’re using AI for programming tasks, or if you bounce between different models regularly, then yeah, this is worth setting up.
The setup cost is basically zero: ten minutes, a free API account, and Node.js 24. The ongoing cost through DeepRouter is around thirty cents per million tokens. That’s nothing.
If you’re just a casual user who asks ChatGPT a question once a week, skip it. You don’t need this. The official apps are fine.
But for anyone dealing with agents, longer workflows, or just wanting to compare models without the hassle, this setup is solid.
I’m going to keep using it. Might change my mind if something better comes along. But right now? It’s doing exactly what I needed.
Quick Troubleshooting
Harness won’t start with npx?
Check Node version first. It must be 24. I ran into this and it fixed everything.
Can’t access 127.0.0.1:3080?
Make sure the terminal window is still running. If you closed it, the server stops. Run npx @deepseek-ai/dsh web again.
No models showing up after fetch?
Double-check the API address. It should be https://deeprouter.top/v1. Also make sure your key is valid. If auto-fetch fails, just add model IDs manually.
Do I need to re-enter the API key every time?
No. Once you save the provider config, it sticks. Just start Harness and pick your model.
I’ll keep using it and see how it goes. If anything changes, I’ll write an update.